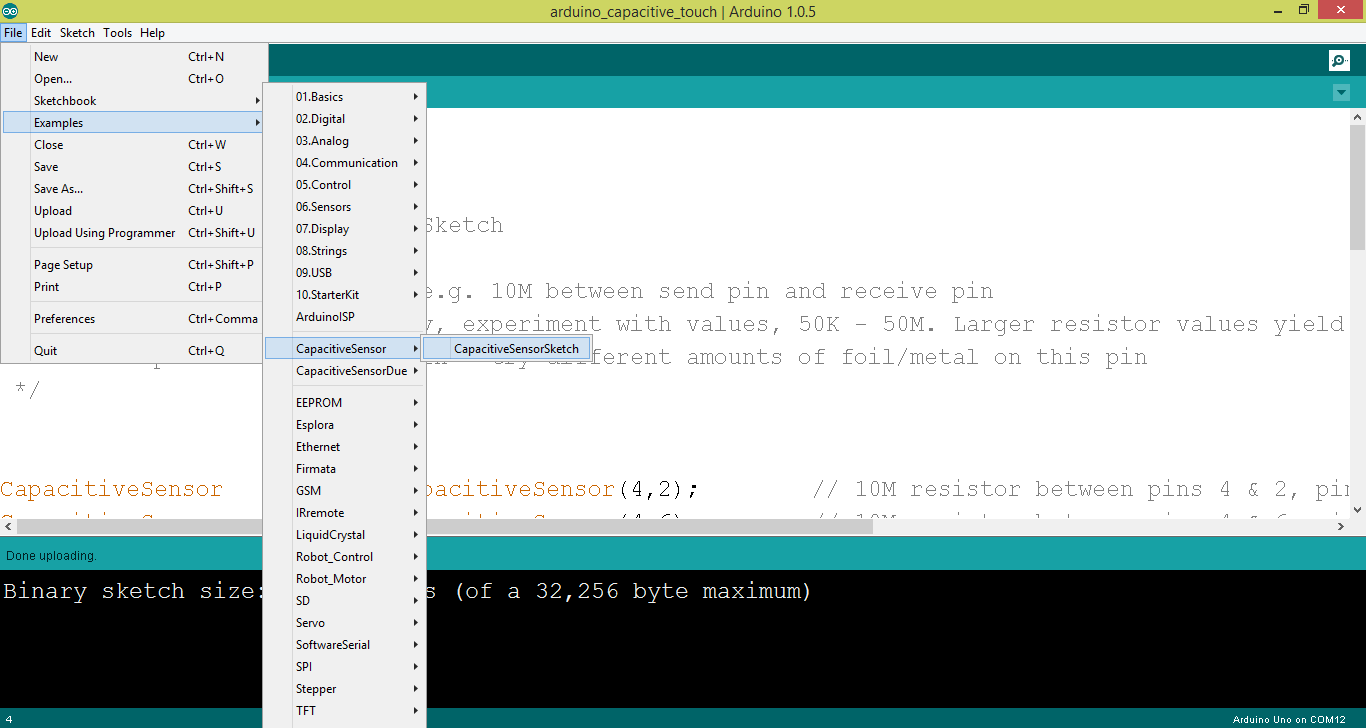
|
1 2 3 4 5 6 7 8 9 10 11 12 13 14 15 16 17 18 19 20 21 22 23 24 25 26 27 |
class Timer { int savedTime; // When Timer started int totalTime; // How long Timer should last Timer(int tempTotalTime) { totalTime = tempTotalTime; } // Starting the timer void start() { // When the timer starts it stores the current time in milliseconds. savedTime = millis(); } // The function isFinished() returns true if 5,000 ms have passed. // The work of the timer is farmed out to this method. boolean isFinished() { // Check how much time has passed int passedTime = millis()- savedTime; if (passedTime > totalTime) { return true; } else { return false; } } } |
|
1 2 3 4 5 6 7 8 9 10 11 12 13 14 15 16 17 18 |
Timer timer; void setup() { // timer should last 5 second timer = new Timer(5000); timer.start(); ... } void draw() { // check is timer passed if(timer.isFinished()) { } ... } |
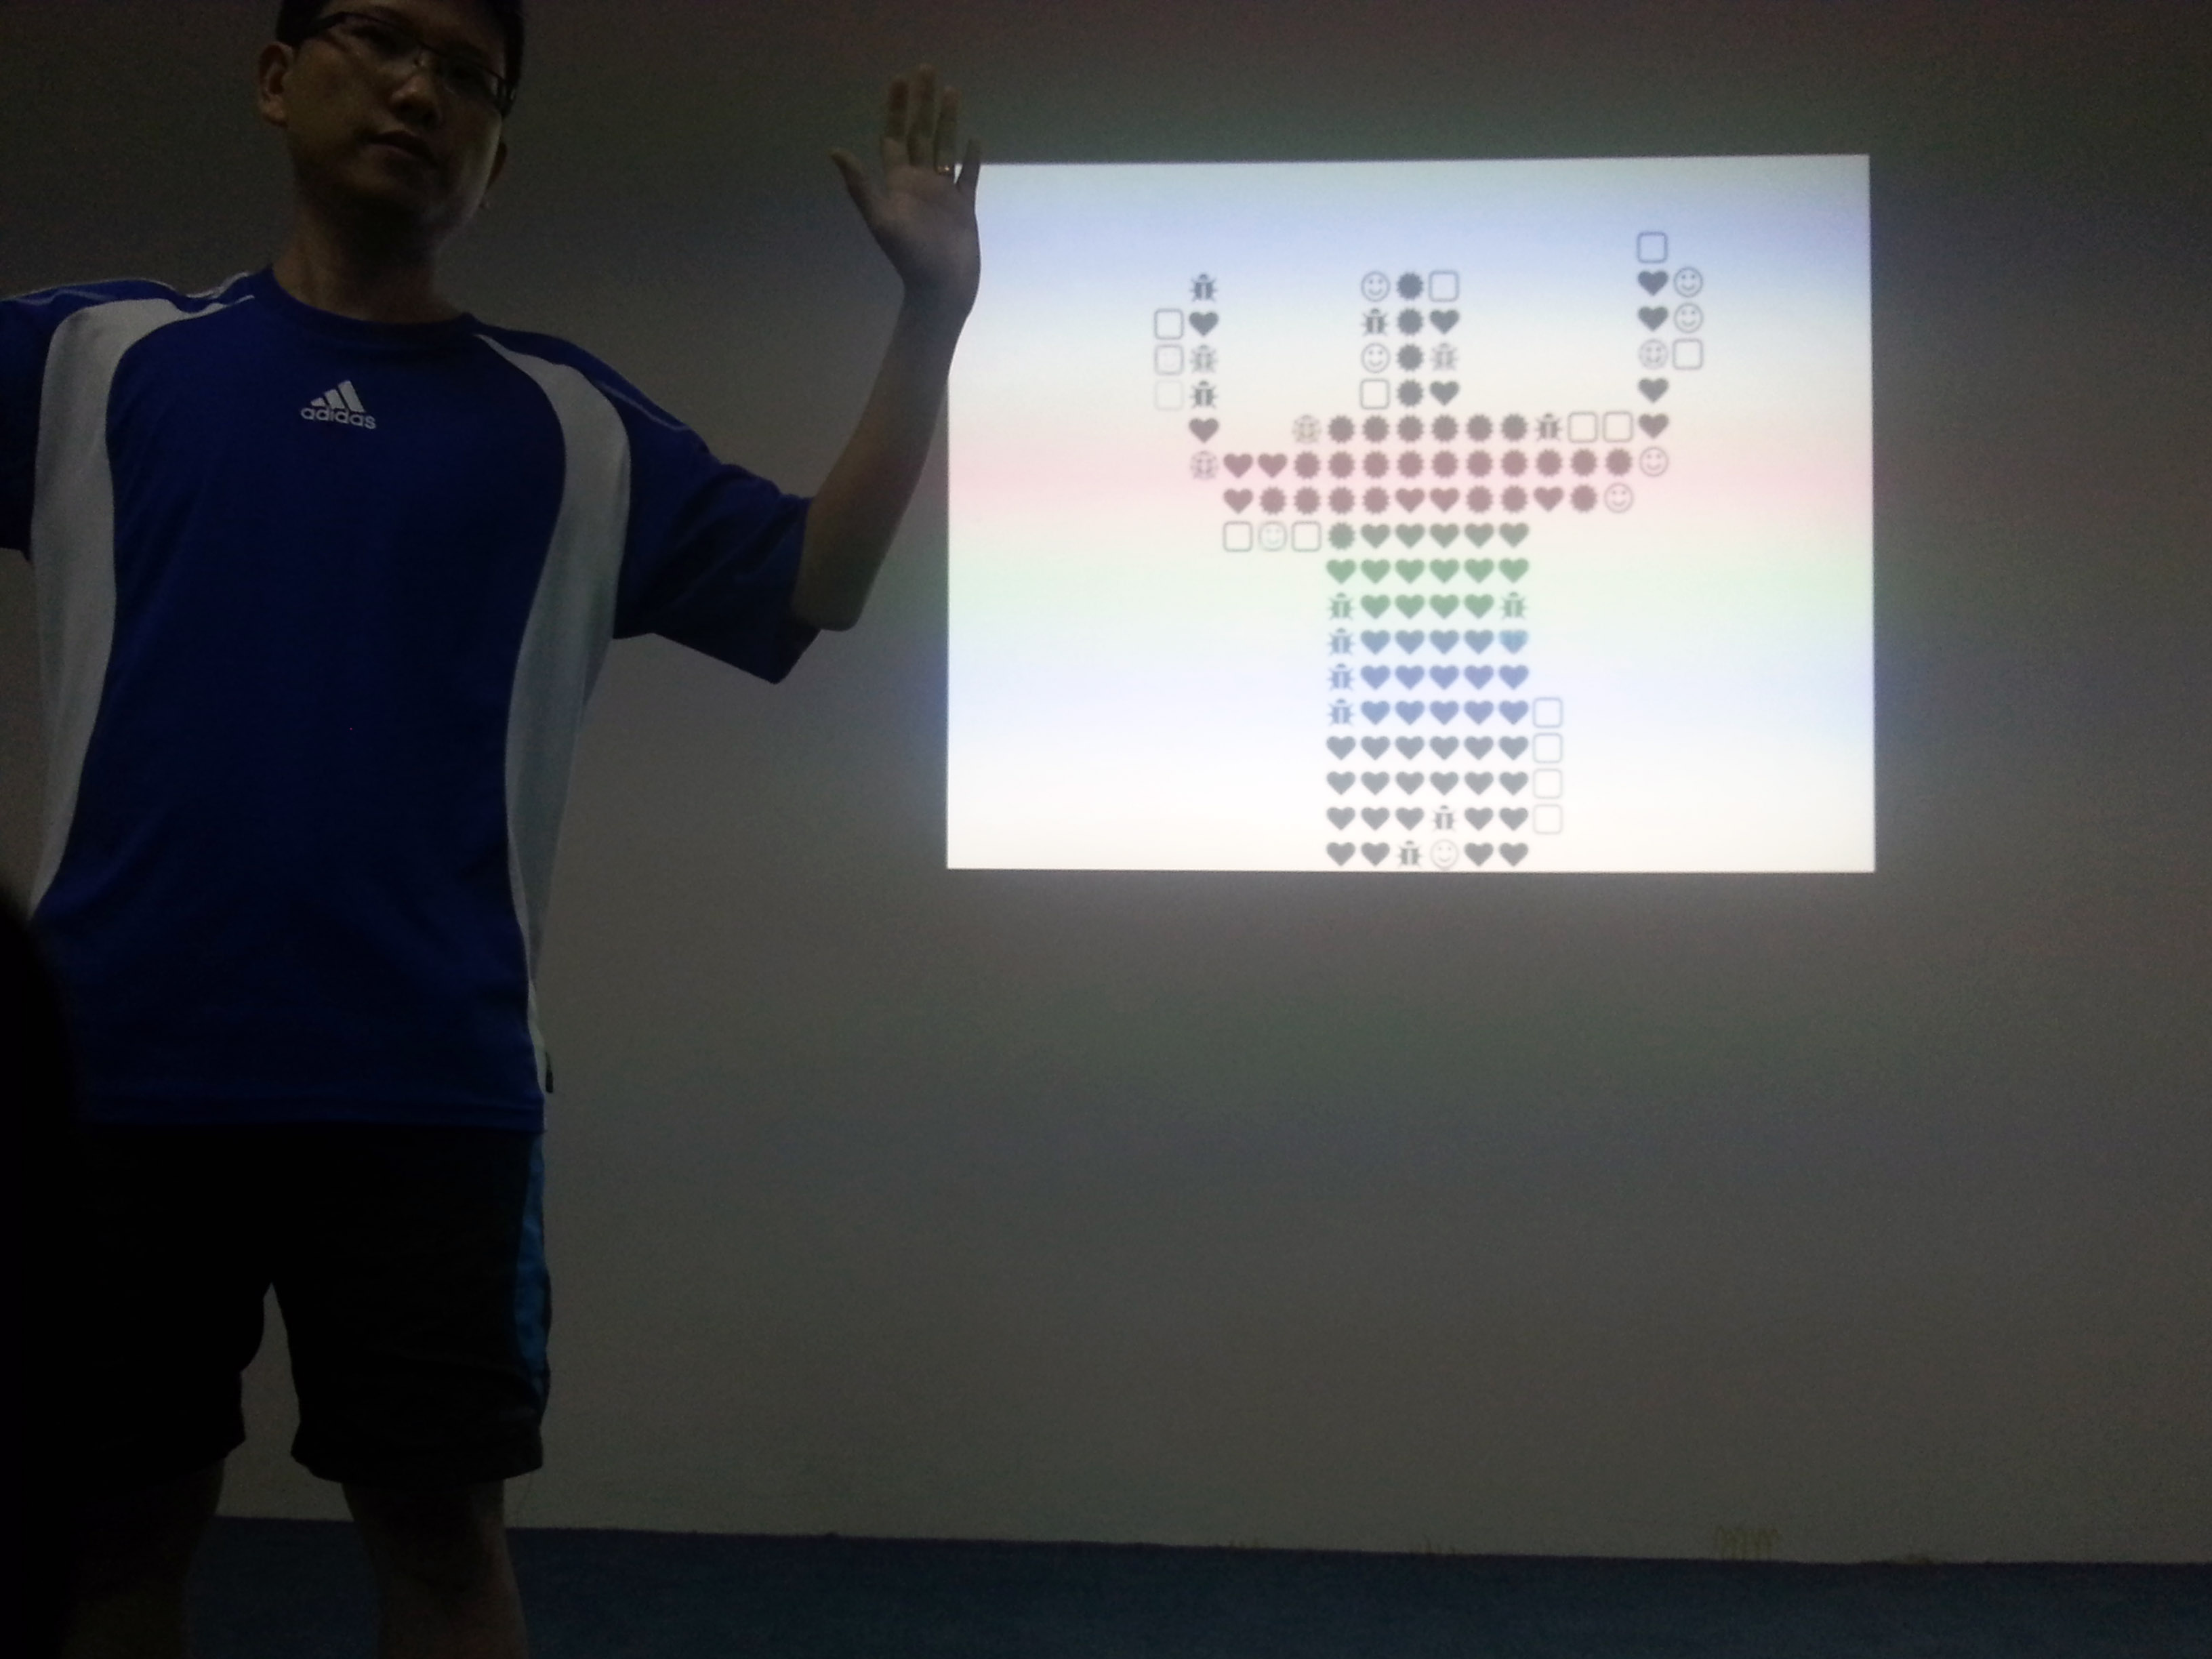
 Chinese developer has some interesting use of kinect with Journey to the west characters.


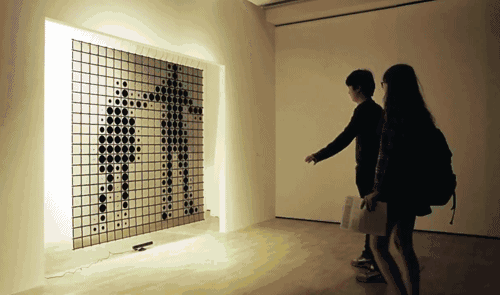 However, Hybe is not the only one doing thing like this. There are many other attempts: