Monthly Archives: November 2013

Control real devices using relay

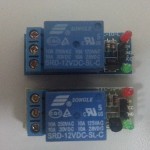
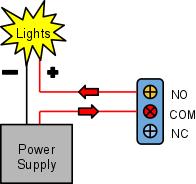
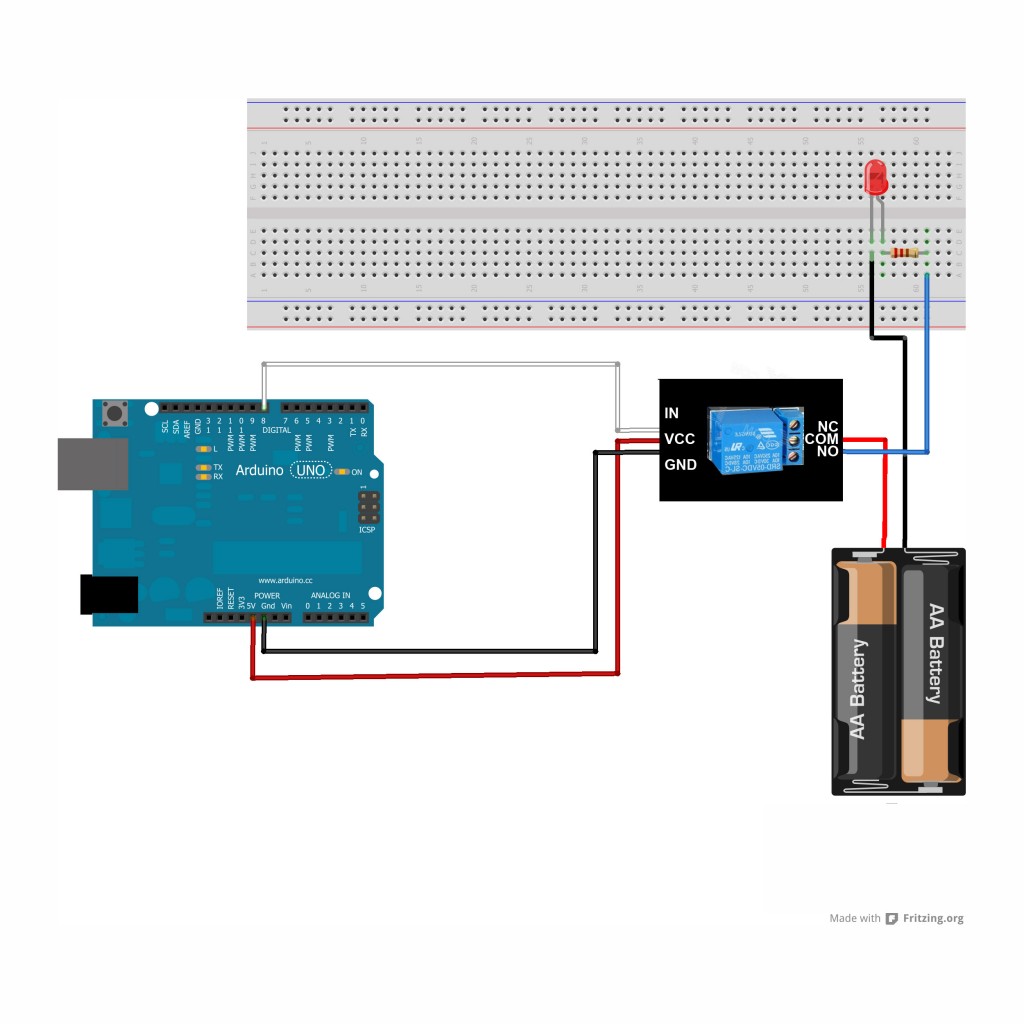
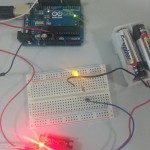
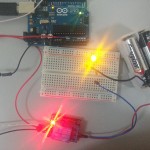
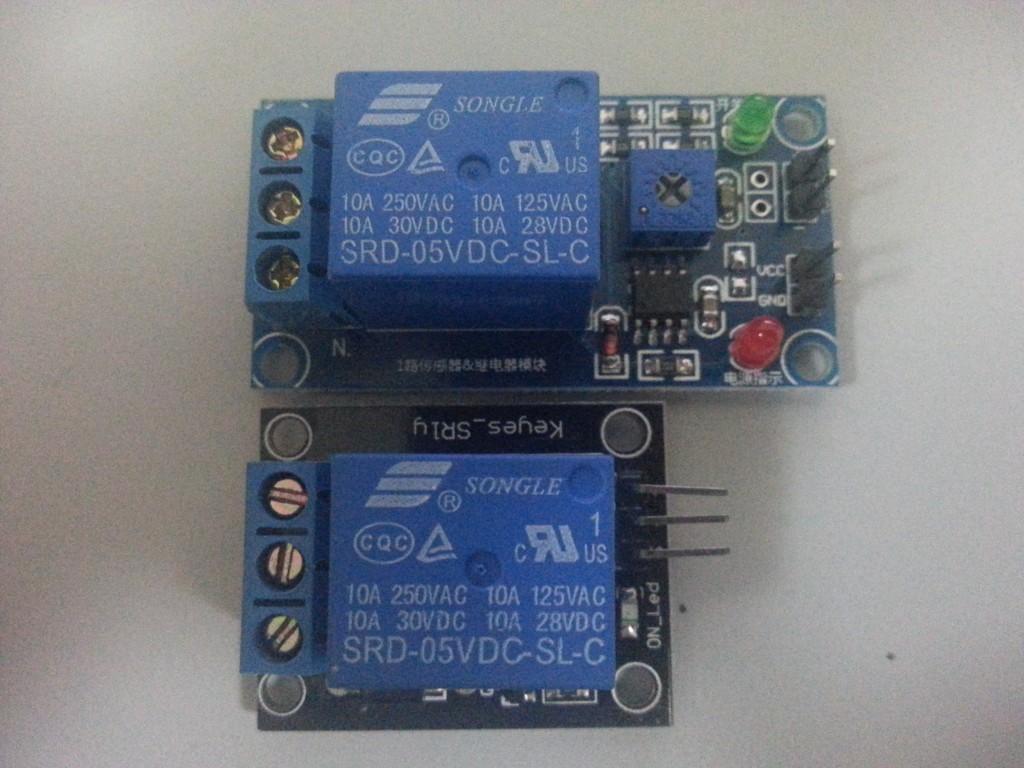
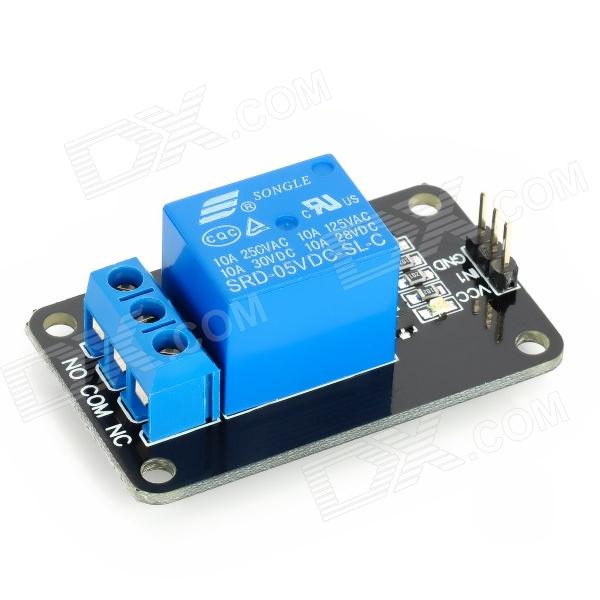
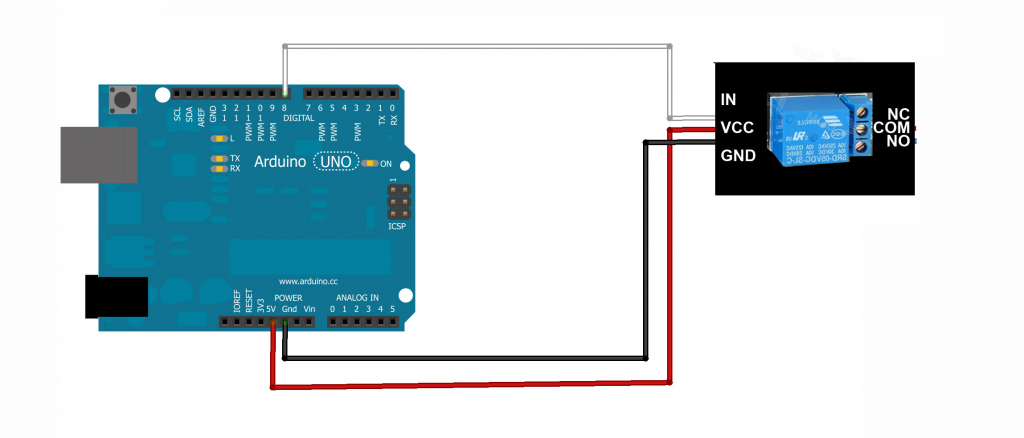
What is a relay For beginner, Arduino is about processing input from sensor and output to LED, servo, buzzer and etc. What if you like to control the real electrical devices at your house, let say a desktop light or a Kettle? Then, you will need a relay. In short, a relay is an electrically operated switch. Most relays use an electromagnet to operate a switching mechanism mechanically. Where to get one I do most of my shopping at dx.com. A decent relay cost as low as USD2.40 and it is free shipping! (The only problem is it takes quite some time to reach my doorstep). There are many type of relays available out there. You must get the right one to works. Get a 5V one due to your arduino board power output is usually 5v or 3.3v. If you got a 9v relay like this one, then you will need to connect the power source from an external 9v battery. 5V relay 20131124_180951 Notice the word down there: SRD-05VDC-SL-C. This is a 5v DC relay which you can connect to your arduino board directly for power source to control. 12v Relay 20131124_181020 20131124_181006 These are the 12V relay which required external power source to control. How to connect Normally, a relay has 6 pins, 3 on the A side (IN, VCC, GND) , 3 on the B side  (NO, COM, NC) , as shown in the picture below. A side connect to your arduino board, while the B side connect to the ‘real devices’. sku_149805_2 For testing, we always start connecting the A side. VCC to your 5V power output pin, GND to GND pin, while IN to your Digital Output pin. Like this circuit: relay start circuit Then, load the following code to test: You have done it correctly when you hear the clicking sounds. For those relay module that come with built in LED, it’s easier to tell it works or not. Connecting the ‘real device’ You have to be very careful when connecting a relay as you are dealing with real AC power source most of the time. You could burnt your arduino board or worst yourself if connected wrongly. For the learning and safety, I will use an external 6v battery source to represent the power supply and LED for the lights/electrical device. The diagram below shows how you connect the B side: dancinglights_step1b The full circuit would be: relay overview Note: connect a resistor to your LED as 6V battery could be too large for it to handle. Your LED on/off is now control by your relay. Chinese References Most products sellings on dx.com sourced from china and so their components have chinese writing character. It’s not too hard to read them. The following table helps:
  • NO – 常开 – where you connect with + of light bulb
  • COM – 公共端 – where you plugged + power source in
  • NC – 常关 – seldom use
Have Fun! Some Photos  20131124_180335 20131124_180642 20131124_180731 20131124_180729  

AWS AWSome Day KL Free Credit Redeemed

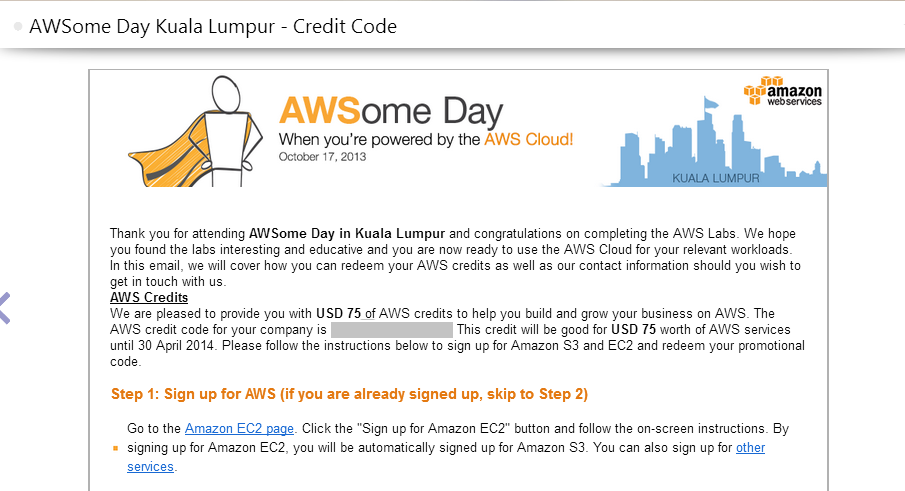
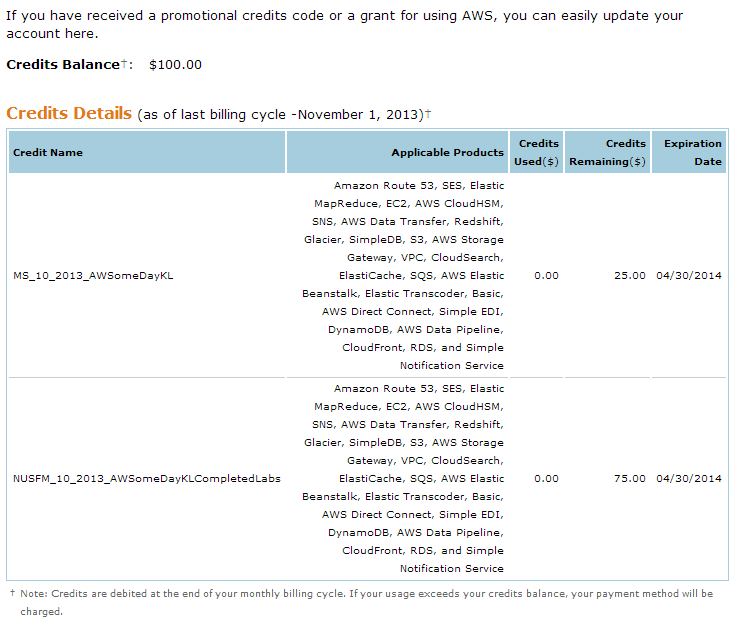
After finished the online training on EC2, S3, RDS which I already familiar with, I finally received the remaining USD75 credit thru email from amazon. aws75credit Many thanks! Sum up with the USD25 free credit that obtain by attending AWSome Day KL in cyberjaya, I accumulated a total of USD100 credit. Well, my monthly expenses on AWS is certainly more than this amount but I appreciate this marketing approach. awstotalcredit   Thanks again to Amazon and I do hope your pricing can keep reducing from time to time as your scale of economy increase.

Window 8 Start menu

I am being force to use window 8.1 pro by Microsoft due to the need to develop windows phone app. No matter how hard i force myself to try, same with the majority windows 7 users, I hate the new metro interface and miss the good old start button. Good news, there is an open source program that restore your start menu in windows 8. http://www.classicshell.net/ Mind you that it can be slow if you enable item in the menu as a list, especially the recently open doc. You can speed it up by changing them to link. More info here. But this still takes like 10s to start. To speed things up further, disable your jump list in Classic Shell, and the windows as well by right click on windows task bar->properties->Jump lists, unchecked all item under privacy section. And you might also wanto change the default shell logo, probably to your familiar windows logo. You can get a bunch of them at the forum. FYI, the best size for a logo is 36. You might also wanto disable the pretty but pointless lock screen, so you can directly boot to your desktop or login page. Follow this tutorial.

Android default browser sucks

I am using the Samsung Galaxy s3 v4.1.2 and it used default android stock browser, and for the embedded webview component as well. One major issue i notice is when running javascript, weird things happen. For example, on form submit, i wanto prevent user from double clicking the submission button. Usually, a simple jquery javascript did the job and works well on desktop browser, including the mobile chrome browser, but not in the stock browser. The stock browser just failed to hide the form and show the loading div block, Button are disabled sometime and sometime not. But when I clicked back button, the loading div is displayed. So it seems like when form is submitted, the browser just stop all javascript processing. The best way to ensure submit button is disabled is actually to hide it by coding it in the html (old school method) rather in jquery. However, the previous way works well on a nexus device which used chrome as default browser. It works on ios devices too.

Malaysia ISP blocked yify-torrents.com

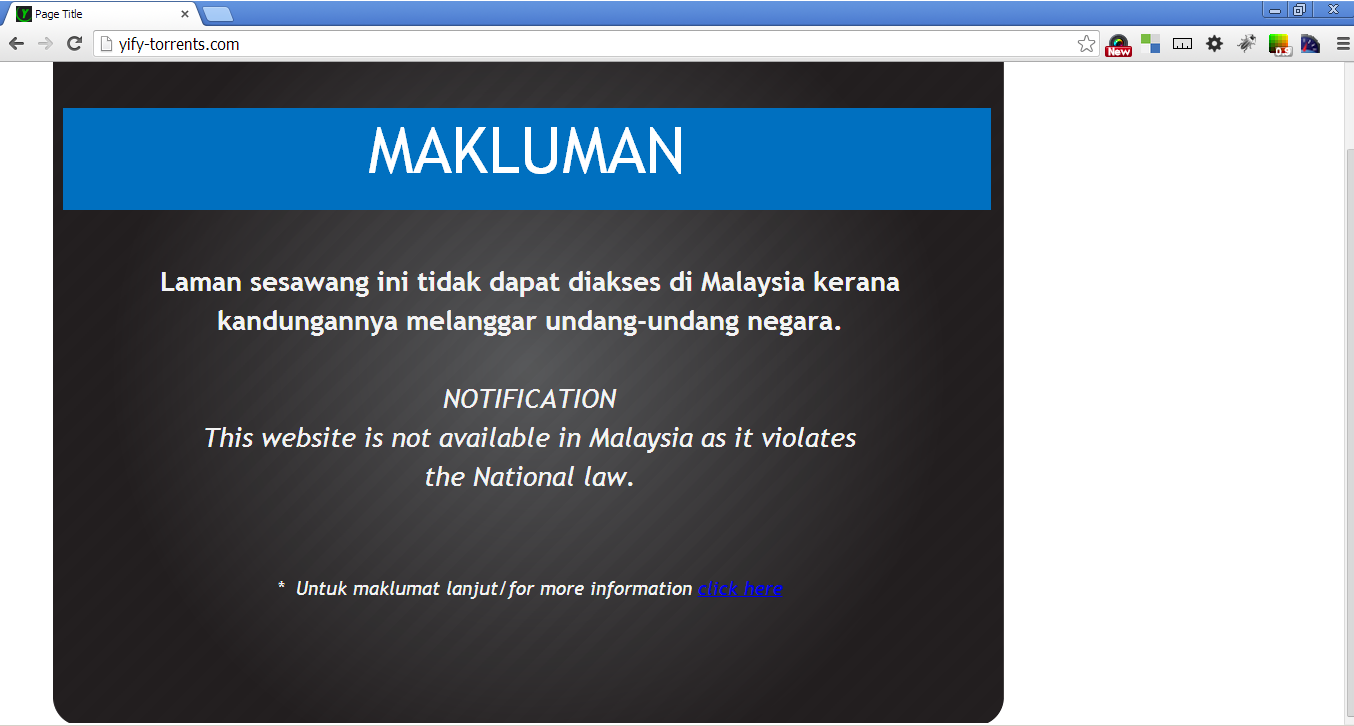
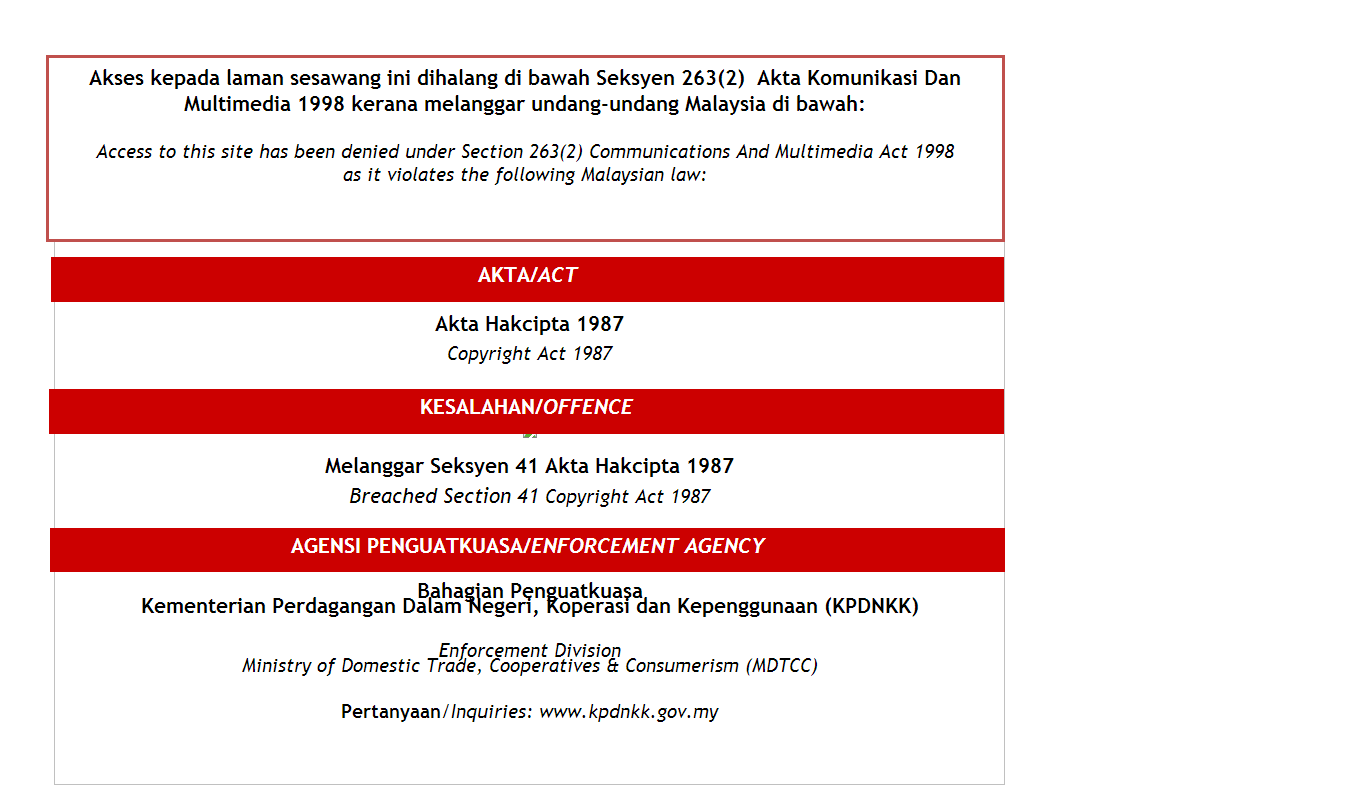
yify-torrents is a popular video torrent sharing website, most of the top movie seed found at piratebay came from them. Today, Malaysia ISP have choose to block this site with an ugrly looking message. Clicking the link for more information will bring you to the next. yifyblocked   yifyblocked2

Social Login Button with font awesome & bootstrap

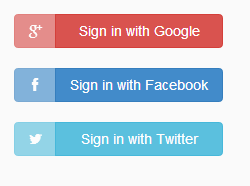
  Traditionallysocial_login_button_02 Social login function thru google, facebook or twitter is common nowadays. Above example required using of external images. Bootstrap & Font awesome version I use Bootstrap framework & Font Awesome to achieve similar result, only with pure HTML & CSS, best for multilingual use-case scenario. With the default button color scheme (primary, info, danger) provided by Bootstrap, it is good enough to support Facebook, Twitter & Google login. If you need more different color style, you will have to extend the default css. bootstrap login The code:  Alternative Other example are such as: http://noizwaves.github.io/bootstrap-social-buttons/

Font Awesome to PNG converter using PHP

Font Awesome gives you scalable vector icons that can instantly be customized — size, color, drop shadow, and anything that can be done with the power of CSS. It’s free and open source, available at http://fortawesome.github.io/Font-Awesome/ It’s very ready to use in HTML: I have created this open source at Github: https://github.com/exiang/php-font-awesome-to-png that helps you mass extract the icons into PNG images. Then, you can use it for your native mobile app development like ios, android and windows phone.
  1. First, download the zip file and extract it to htdocs\php-font-awesome-to-png-master
  2. Make sure your web server have php5 and gd module installed.
  3. We need to download fontawesome-webfont.ttf separately from https://github.com/FortAwesome/Font-Awesome/tree/master/fonts. Drop it into the same directory as the php code.
  4. You may run the php code from browser or console.
Modify the generate.php By default, php-font-awesome-to-png generate png images at the following size as this code shows: It’s a PHP array, just modify at your will to add-in or deduct any size. As for colors, it is define as PHP array too: Please note not to use 255,0,255 as it is reserved color for background trimming. Modify the icons.data.php icons.data.php is a mapping between the character code used by fontawesome into the outputted png file name. Edit it if necessary, for example when fontawesome added new icon. You will need to refer to fontawesome css file. http://netdna.bootstrapcdn.com/font-awesome/4.0.3/css/font-awesome.css For example, glass icon in css is: so the mapping in our php code would be like: Now, we are done 😉 Happy using the converter and please help the project by contribute your latest up to date icons.data.php that sync with fontawesome. TQ.  

Using S3 for web storage with PHP

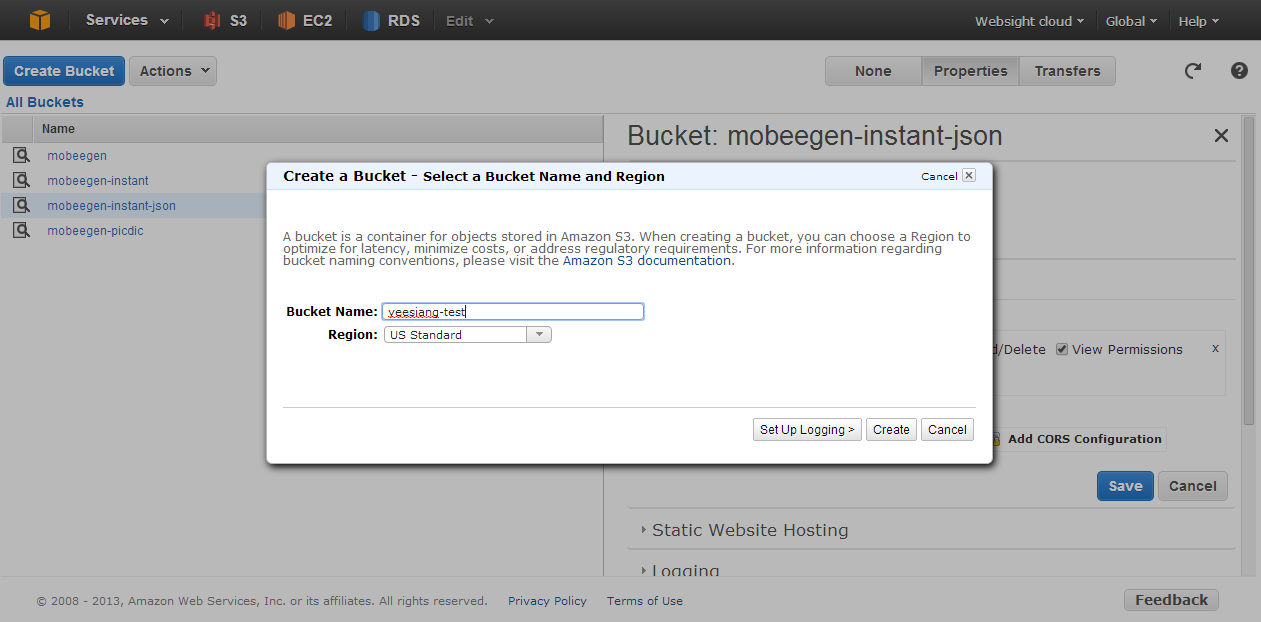
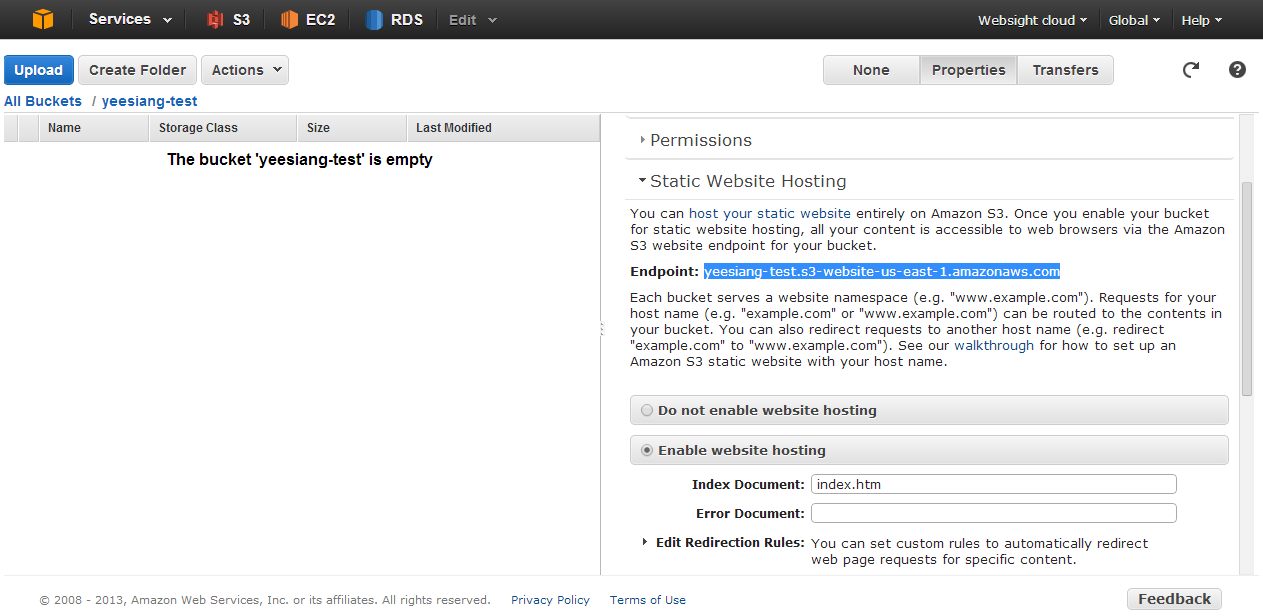
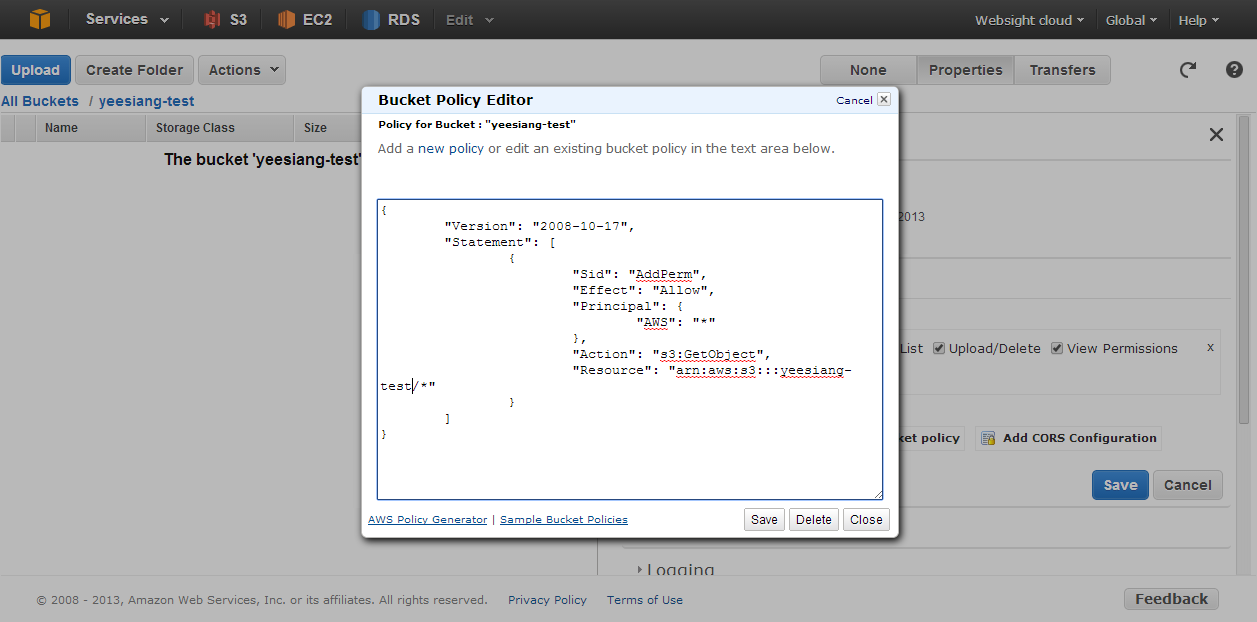
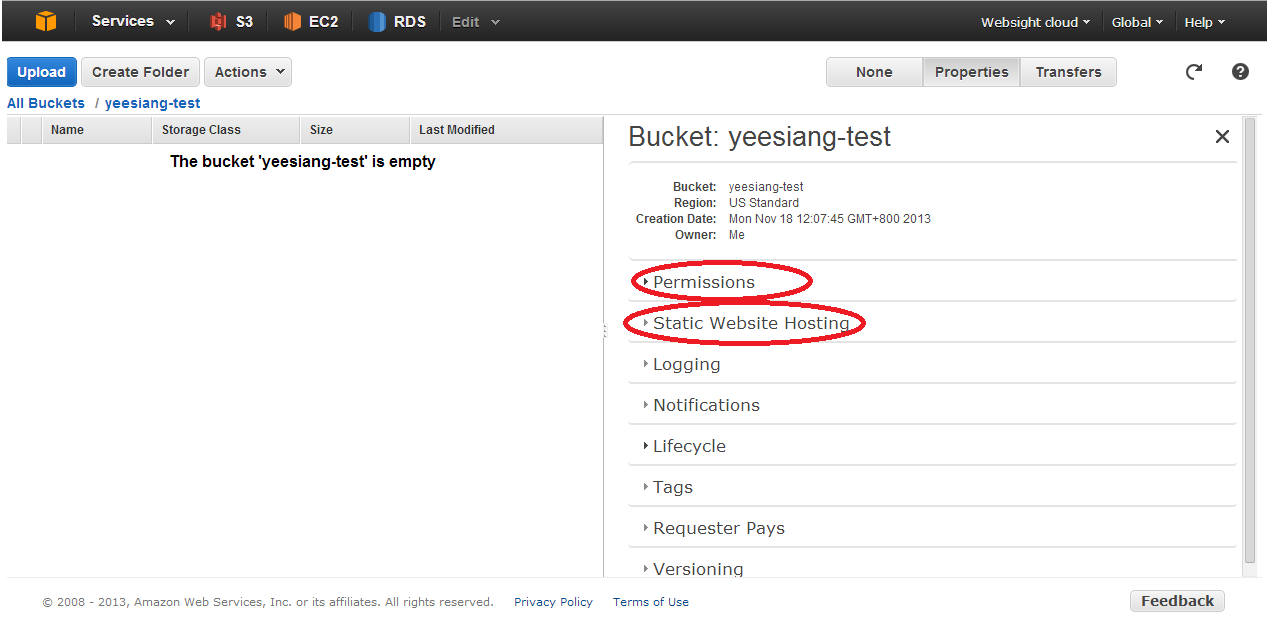
Amazon S3 is a reliable and affordable cloud storage. When you host a file up there, it is automatically scale-able. Not to confuse with your traditional hosting ftp diskspace, s3 is meant to store static files like images, html, js, css and etc; but not dynamically executed server side code like PHP. In this tutorial, I will teach you how to create a web enabled s3 bucket and how to use PHP code to upload your content onto it. An S3 bucket is a grouping or set of discrete storage container where you can define specific rules and condition. For example, you can create a bucketA which is private while another bucketB which is publicly accessible from the web. You can also create another bucketC which only serve to log access data generated from the bucketB. Be notice that each bucket name have to be globally unique and follow the naming convention here. Your bucket name will also be part of your url if you choose to open the bucket to public. You can have unlimited folders and files inside a bucket. Create a web access bucket s31 Login to your AWS web console, goto S3 section. Click “Create Bucket” button found on the top right of page. s32 On the right is your bucket properties. We will need to make changes to Permissions and Static Web Hosting section.   s34 For static web hosting section, note down your end point url. Then click the Enable Website hosting radio button. Do not forget to insert your index document name too. In this case, i just use index.htm. If this file is missing, it will show a 404 File not found HTTP error page. Unlike a convention HTTP server, it wont display a list of other files found in this directory.   s33 For Permission section, Click on the Edit Bucket Policy button. Then, insert the code as shown. Remember to change your resource name to match your bucket name. This move is to give right to the public to have read access on your bucket and every files/folders in it. Ok, now you have successfully created your bucket and may test it with the endpoint url. Download Amazon SDK for PHP Next, we will download Amazon SDK for PHP. As amazon update their SDK frequently, the following information might be out-dated. However, the concept would still be the same. Visit http://aws.amazon.com/sdkforphp/ for the download file link. Click ‘AWS SDK for PHP‘. Notice the file downloaded is aws.phar. PHAR is a very nice feature from PHP 5.2 and newer for easy distribution and installation. Writing PHP code to upload file to s3  
Grabbing JPJ latest Plate No

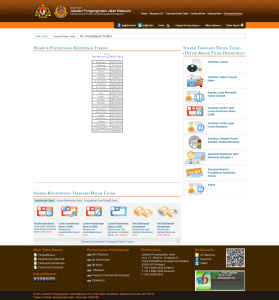
Unlike many of Malaysia government website, JPJ is serious about protecting their latest car plate info found in their website. The plate info can be found at url http://www.jpj.gov.my/transaksi-percuma-no.-pendaftaran-terkini

Portal Rasmi Jabatan Pengangkutan Jalan Malaysia

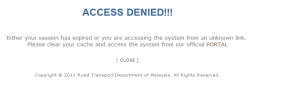
If you look into the source code, you would find that this info is actually in an external page included thru iframe. The exact url would be: http://blacklist.jpj.gov.my/malay/plateno.shtml Which will give you this error page when u try to open it separately in browser,

Error

I figured out the protection method should be simple, most probably using http referrer checking. so by using a simple code as below, i can bypass the simple security checking easily and acquired the real content. Note: this piece of code is just a snapshot part of the complete one. So, checking http referrer is a very simple protection method that will not works against advance grabbing technique where the referrer url can be fake.