My First rPi Experience

Bought over a raspberry pi model B (quite an old model) from a friend and started my journey venture into this platform. With a background from Arduino, I manage to pick it up without much troubles. 20141013_225759
  1. rPi is a much more powerful single board computer than Arduino UNO. It run real OS – linux.
  2. There is no HDD but only SD card as storage.
  3. The default login, username: pi, password: raspberry
  4. If you cant see your favourite GUI, type startx in terminal, after-all it is linux.
  5. In Arduino, you write in Arduino IDE; In rPi, you write using any programming language, but most popular one is python.
  6. In Arduino, it’s Input/Output pin; In rPi, you got GPIO
  7. You can light an IDE using command line! Refer Here
  8. For prototyping on breadboard, You need something extra, can be purchase here
  9. You need to have Internet access. i am using a wifi in this case.
  10. Your python wont work out of the box with GPIO, follow instruction here to setup
  11. Then, you may follow this tutorial to blink an LED
  12. In case you cant type # correctly (fucking important for programmer) in rPi due to stupid mapping to UK keyboard by default. try Ctl+Alt+3 (but only work in idle) as describe here or better, follow the answer here to change XKBLAYOUT from uk to us
Ok, here is some additional note about running python scripts, you may ignore this if you already familiar with linux:
  1. You can always start idle in sudo mode, open the file yourfilename.py and hit F5
  2. you can always type command in terminal, python ./yourfilename.py. Remember to chmod +x  the file first to make it executable (some extra step that linux have compare to windows).
  3. or.. you can prepend this line #!/usr/bin/env python in yourfilename.py. Then, you can start it in terminal straight away without calling thru python: ./yourfilename.py

Ordering Beagleboard from Element14 Singapore

Tried to order Beagleboard from element14 and I never expect the process can be as tedious as this. Untitled So, this is my replied to them:
Wah damn mafan… come on, it’s just a beagleboard, i not ordering uranium! I will never recommend my frens, clients and students buy this item from Element14 Sg anymore.
 
1. Yes, you may ship to either address.
2. Fuck singapore custom. ask them get from Malaysia SSM. http://www.ssm.com.my/
3. Everything is on wikipedia and google. http://en.wikipedia.org/wiki/Installation_art
  I give up on this order due to stupid people who tried to stop the earth from rotating.

Installing processing on Ubuntu Desktop

I am using Ubuntu 14.04 To run Processing, you need to have JAVA. By default, ubuntu do not come with JAVA pre-installed due to licensing issue (DAMN! These biz ppl is blocking the earth turning again). There are 2 type of java runtime you can install, one from openJDK and another one from Oracle. Processing2 at this time of writing only work with the later one. Follow this tutorial on how to install Oracle Java to your ubuntu machine. The process can take up to 3 hours if you have a slow Internet line. After successfully installed, you may proceed to download processing. I like to place my processing under /opt.  

Unboxing intel nuc

Needed a SFF to test out installation projects & home server. Got my Intel NUC D54250WYKH from mika@lowyat. Only after visited his company website than i realized I have been there like 10 years ago while studying Game Design in MMU: He is one of the earliest Game Developer in Malaysia! image Added 8MB Ram, wireless pcie, 128GB SSD mSata & cable! at RM1770. This model can install additional 2.5″ HDD but i not going to do that for this moment, just in case in future. image Next, I going to install ubuntu desktop onto this machine by following this tutorial. Important: Your ubuntu might failed to run after installation. You will need to update the bios first. Pls note that this machine only have mini-HDMI port (type c). Most cable you have are type A so you might wanto get a converter for it. I will try running processing on it and will keep you guys update on the benchmark.

Spherical projection mapping

I was at Sasana Kijang KL gallery and they have some really cool installation. One of them which stand up among others is this spherical projection installation. 91e89d0d9d23cab6f8df197a315f8210 Different from most projection mapping i have seen, which project from outer to the object, this one project inner inside a spherical object. Even more amazing, it required only 1 projector and the entire sphere is filled with graphics without gap. 2552ebfbceb57b9d7e5d4333591c7184 A quick Google search shows that it is done by a UK company called Pufferfish. You can see BNM logo is appear in their client list. Pufferfish Clients   Pufferfish I have no idea how they do it. I think it is a propriety technology.

Hall Sensor

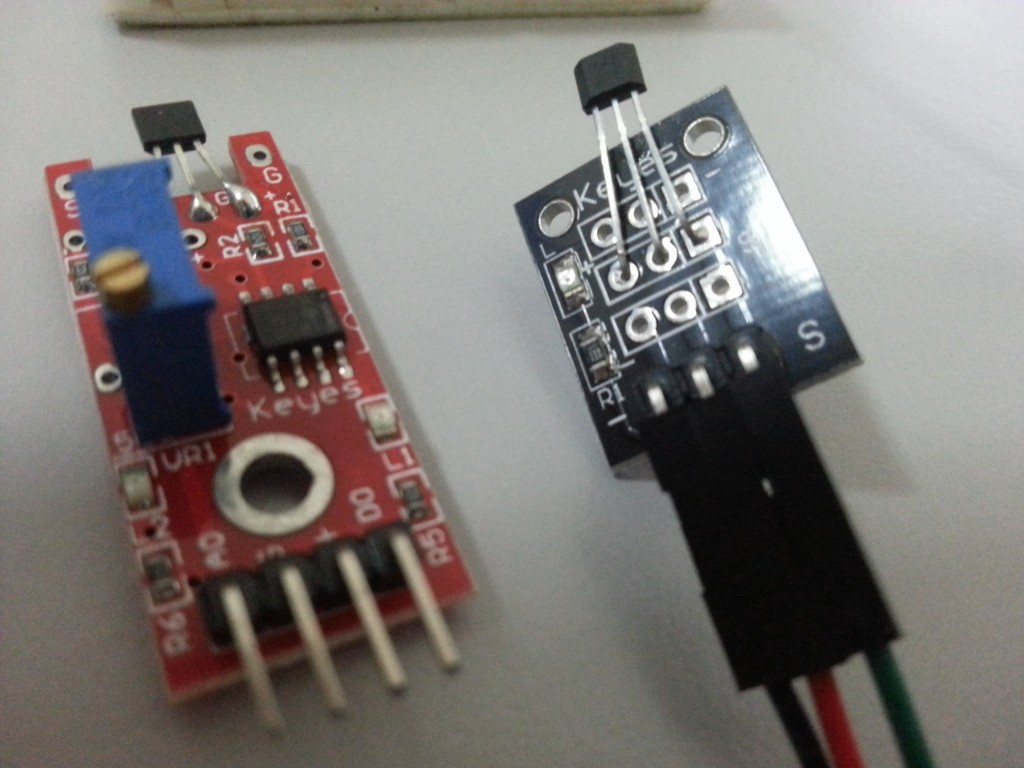
These are the hall effect sensor i have tested out. 20140918_235432 
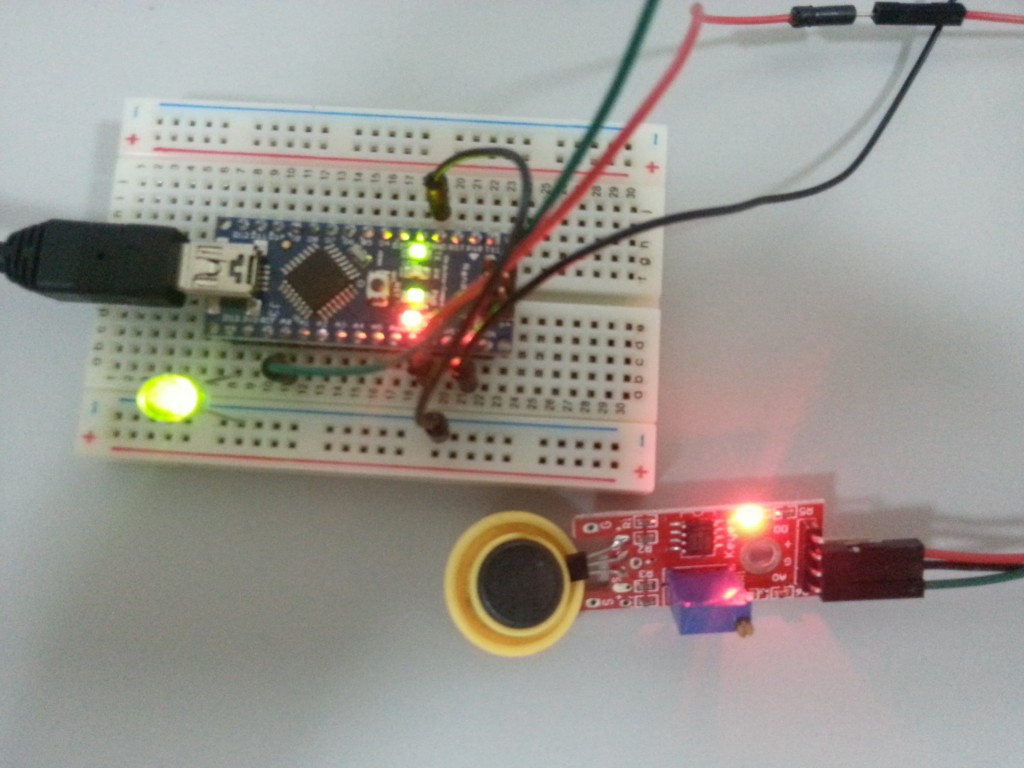
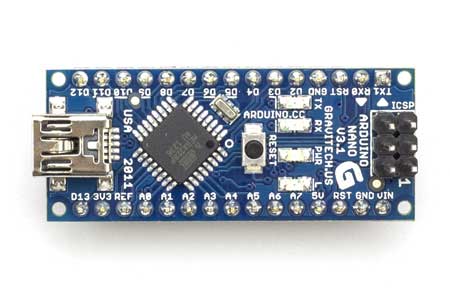
Meanwhile, I am playing with my new nano board. But the magnet I have here is not strong enough. It need to be very close to the sensor (like 1cm). Gotto order new rare earth magnet from dx.com then. Simple code to output the analog in reading, and if less then the threshold, light the LED.   This sensor in red board is a linear hall effect sensor. 20140918_235205 Next, I try on the black board one. According to dx.com comment, this is a digital output and 10k resister is required between the 5v & signal pin. 20140919_144354 
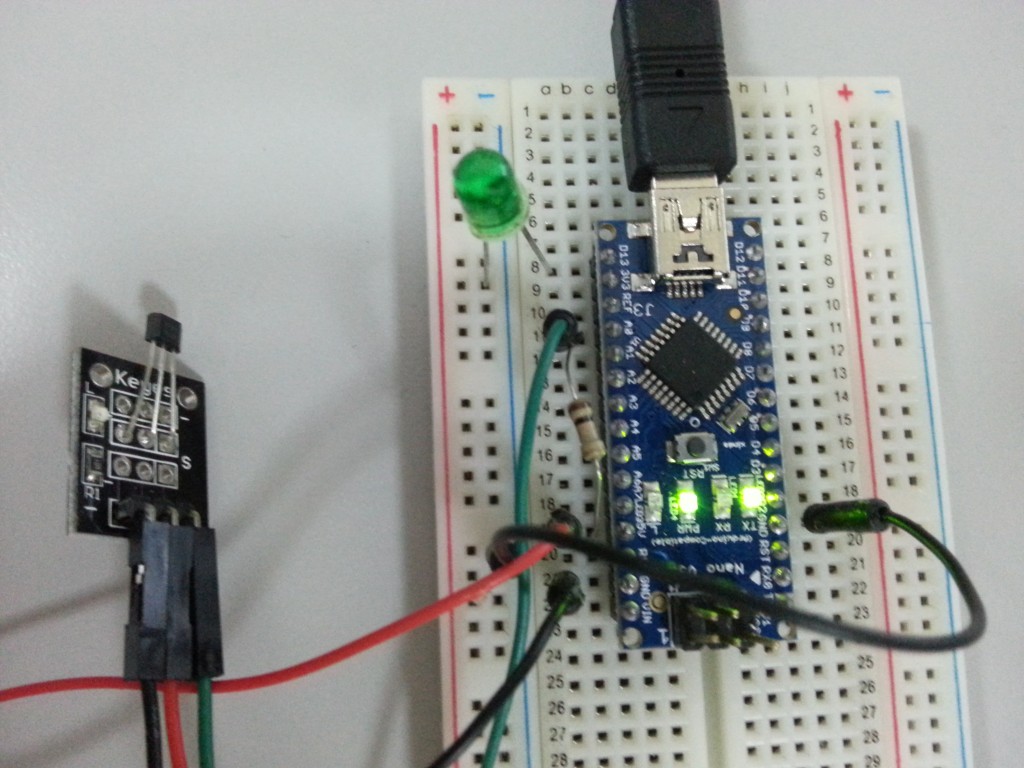
After placing the resistor in between, i getting reading of 1023 (off magnet) & 15 (with magnet). It is analog but the value only 2 state, so like the comment said, it did behave like digital. I can then use a map function to turn the value into either 0 or 1. Next, I tried another sensor that looks exactly the same like above, except the packaging label with “analog hall sensor”. with the same circuit (with resistor removed) and code, this is what i observed:
  • without magnet, ouput reading at 522
  • with magnet place in direction of the top of board, output reading range between 522- 770
  • with magnet place in direction of the bottom of board, output reading range between 522-413
Interesting! seems like it can tell at which direction the magnet is coming from.

Arduino Nano

Arduino Nano is basically a smaller version of Arduino board. There are 2 type of Arduino Nano at the time of writing:
  • Arduino Nano 3.0 (ATmega328)
  • Arduino Nano 2.3 (ATmega168)
More detail can be found here at official site The one I have here is v3. The obvious difference between an Uno and nano board I notice immediately is: nano board pins is facing towards bottom, where you normally mount it onto a small breadboard to use it. 20140918_232845 Next, all the pin sequence are different as shown in this picture. When uploading code from Arduino IDE, you might see some warning msg appearing at debug windows:
Sketch uses 3,010 bytes (9%) of program storage space. Maximum is 32,256 bytes. Global variables use 203 bytes (9%) of dynamic memory, leaving 1,845 bytes for local variables. Maximum is 2,048 bytes.
It means you actually scarify the memory space in exchange for the small footprint. So far I have used it for digital out & analog in and behave just the same with uno.

Angularjs with Baasbox

Ionic framework for mobile app development use angularJs at its core while baasBox is an open source backend-as-a-services platform (pretty much like parse.com except it allow you to self hosted). I encounter problem when using both together. baasBox provide a javascript framework but it required jquery as dependency. Problem is… when I using baasbox ajax function, its callback fail to access angularJs $scope directly, hence i failed to assign variable to my html. for example, this would fail: Then, I did a little experiment trying to grab baasBox API in raw and prove to be successful: This means I can write an angular javascript sdk for baasBox. That would be a prefect solution but I am running out of time. Then, I think of the possibility to make use of $scope.$apply. This allow me to use back the baasBox jquery base js sdk with angularJs in a straight forward manner. Bingo! It works like a charm now.  

Screen base output for Arduino

Arduino itself can be fun enough, but most installation required either screen base output while utilizing the wide range of sensor input. However, arduino itself was not design for screen base project. It works together with processing and required a external machine for this. Then, raspberry pi came out. As a mini computer, it is many time more powerful than arduino, and have a HDMI port output. Maker can code in Python and still connect to the wide range of sensor input. Other than rPi, we also have beagleboard and etc. And now Arduino is working hard to come out Arduino Tre, which can directly compete with rpi. Lets not forgot the pcDuino which was design to solve these issues. However, being a ARM base devices (same with rpi, beagleboard and etc)… we have an issues here with running processing on it directly. Processing required JAVA and it has to be oracle JAVA. Maker have tried to hack around using open-JDK and have various degree of success: Still, processing only supporting java 7. https://github.com/processing/processing/wiki/Supported-Platforms There is a thread in processing forum: processing on single board computer but it is not getting active reply at the time of writing. So in a production environment and if I insist to use processing, I can’t risk myself using an ARM-base machine. Most installation need to run 24/7. The safest way, still, is to use a SFF rig connecting arduino to talk with the sensors. Unless, I give up on processing and start writing native code like python and etc. I am getting a few pieces of gadget (rasPi B, beaglebone black, pcduino, intel nuc+arduino nano) and will experiment with them. Will post report up here then.